Remember the simple, messy joy of making mud pies as a child? That tactile, creative, and slightly chaotic experience is more than just fun—it’s a critical part of development. In today’s structured world, providing a space for this kind of unstructured play is invaluable. Enter the mud kitchen.
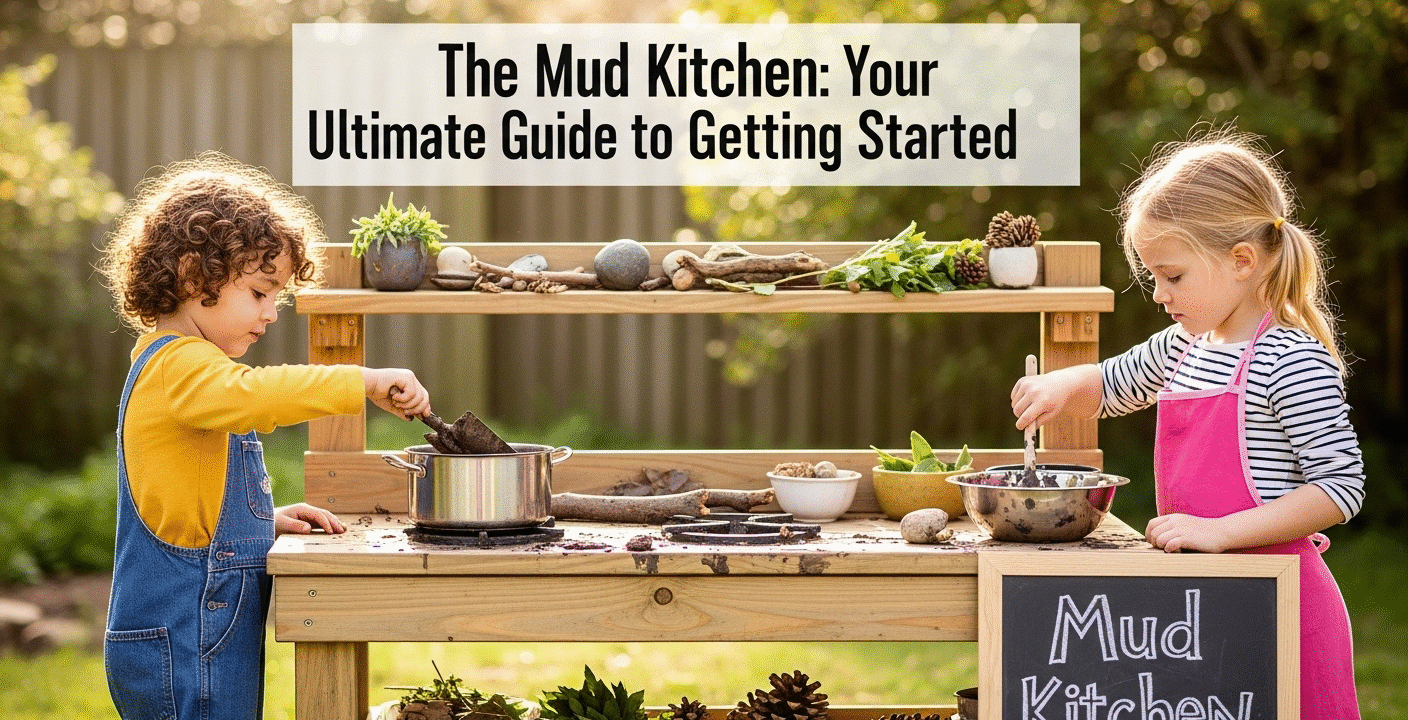
A mud kitchen is a dedicated outdoor play station where children can mimic cooking and experimenting using natural elements like mud, water, sand, leaves, and pebbles. It’s a cornerstone of imaginative outdoor play and a powerhouse for sensory play. If you’re looking to introduce this wonderful concept to your child, this guide will walk you through everything from the benefits to setup and inspiring ideas.
🌳 Why Every Child Needs a Mud Kitchen (The Benefits)
Before we get to the “how-to,” let’s cover the “why.” A mud kitchen is far from just another garden toy; it’s a vital learning environment. The benefits of mud play are vast and well-documented.
- Boosts Creativity and Imagination: In a mud kitchen, a handful of mud can become a chocolate cake, a leafy soup, or a magic potion. This unstructured environment encourages children to create their own narratives and games.
- Develops Sensory Skills: This is sensory play at its finest. Children feel the cool, squishy texture of mud, the roughness of bark, the smoothness of pebbles, and the splash of water. This sensory input is crucial for building neural pathways in the brain.
- Builds Fine and Gross Motor Skills: Scooping, pouring, mixing, whisking, patting, and carrying—all these actions hone a child’s physical coordination.
- Introduces Early STEM Concepts: A mud kitchen is a child’s first science lab. They learn about measurement (filling different containers), states of matter (what happens when you add water to dry dirt?), and gravity (how does the water flow?).
- Supports Emotional Well-being: There is a growing body of evidence that contact with soil and “friendly” bacteria can improve mood and reduce stress. Plus, the freedom of outdoor play is a fantastic outlet for energy and emotion.
🛠️ Setting Up Your First Mud Kitchen: DIY vs. Buy
Getting started is easier than you think. You have two main options: build your own or buy one ready-made.
The DIY Mud Kitchen Approach
A DIY mud kitchen is a fantastic, budget-friendly option that you can customize. The beauty is that it doesn’t need to be perfect; rustic is part of the charm!
- Find a Base: Look for sturdy, weather-resistant materials. Old wooden pallets are a popular choice. You can stack two or three to create a worktop and a backsplash.
- Create a Worktop: An old workbench, some sturdy planks of wood, or even a couple of concrete blocks with a thick board on top will work.
- Add a “Sink”: An old metal or plastic bowl is perfect. You can trace its outline on your worktop and cut a hole for it to sit in, or simply let it rest on top.
- Add Storage: Fix some hooks to the backsplash for hanging utensils or add a shelf underneath for pot and pan storage.
Buying a Pre-Made Mud Kitchen
If DIY isn’t your thing, there are many excellent pre-made options available. When shopping, look for:
- Sturdy Materials: Pressure-treated pine or cedar are excellent choices as they resist rot and weather.
- A Water Source: Some high-end models come with a working tap that can be hooked to a hose or a built-in water dispenser.
- Good Storage: Shelves, cupboards, and hooks are all key features of a good mud kitchen.
🥣 Essential Mud Kitchen Accessories (The Fun Stuff!)
Once your station is set, it’s time to stock it. This is where the real fun begins! You don’t need to spend a lot of money; a trip to a second-hand store is often all you need.
- Cookware: Old metal or plastic pots, pans, muffin tins, and baking sheets.
- Utensils: Whisks, spatulas, ladles, wooden spoons, and measuring cups.
- “Ingredients”: This is the core of the mud kitchen. You need access to dirt (store some in a bin if your garden doesn’t have a good patch), a water source (a bucket, a watering can, or a simple water dispenser), sand, small pebbles, leaves, flower petals, and twigs.
- Extras: Funnels, plastic test tubes, and empty squeeze bottles add an extra layer of “science lab” fun.
💡 Inspiring Mud Kitchen Ideas for Endless Outdoor Play
How your child uses their mud kitchen will evolve, but here are a few mud kitchen ideas to get them started.
- The Mud Pie Bakery: Challenge them to make a “menu” of mud pies, dirt-dusted “cookies” (patted mud rolled in sand), and leafy “cupcakes.”
- The Scientist’s Potion Lab: Provide different-sized containers and maybe a drop of natural food coloring. Let them mix “magic potions” to see what colors and consistencies they can create.
- The Nature Restaurant: Encourage them to go on a “shopping” trip around the garden to find ingredients. They can create pebble soups, grass salads, and twig-topped mud pizzas.
🧼 A Note on Safety and Cleanup
The main parental concern is, of course, the mess. Embrace it, but manage it.
- Set “Mud Clothes”: Have a specific set of old clothes or a rain suit designated for mud kitchen play.
- Location: Place your mud kitchen in an area of the garden you don’t mind getting messy, preferably near a water source for easy cleanup.
- The “Wash-Up”: Have a system for when playtime is over. A bucket of warm water and a towel by the door, or a quick spray with the hose before coming inside, works wonders.
- Safe Materials: Ensure the dirt you’re using is clean and free from chemicals (like pesticides) or animal waste.
A mud kitchen is one of the greatest gifts you can give your child—it’s a gift of freedom, creativity, and connection to the natural world. It’s a space where they are in charge, where mess is encouraged, and where the benefits of mud play will last a lifetime.
Disclaimer: This article is for informational purposes only. All play, especially outdoor and sensory play, should be supervised by a responsible adult to ensure safety. Always check materials for safety and ensure the play area is free from hazards.