As a parent, I’m always looking for engaging, screen-free toddler activities that support my child’s growth. That journey led me to one of our family’s best projects yet: creating a DIY sensory wall. This isn’t just a colorful distraction; it’s a powerful tool for learning and discovery that can transform a plain wall into a world of texture, sound, and interactive fun. Forget expensive, pre-made panels. Building a homemade sensory wall is a rewarding project that you can customize perfectly for your child’s needs.
This guide goes beyond a simple list of ideas. It’s a comprehensive roadmap based on my own experience, designed to help you plan, build, and introduce a
DIY sensory wall that will captivate your child, boost sensory development, and hone their fine motor skills.
Why Your Child Needs a Sensory Wall: The Power of Sensory Play
Before we grab the tools, it’s important to understand the why.
Sensory play is a cornerstone of early childhood development. It’s the foundation for more complex learning. A sensory wall provides critical input that helps children:
Develop Fine Motor Skills: Activities like flipping a switch, turning a dial, or sliding a lock require precise hand and finger movements.
- Enhance Cognitive Growth: Interacting with different objects helps children understand cause and effect (e.g., “When I press this button, it makes a sound”).
- Explore and Understand Textures: Offering a variety of surfaces—from rough sandpaper to smooth wood and soft fabric—builds their tactile awareness.
- Promote a Sense of Calm: For many children, especially those with sensory processing needs, the focused and repetitive nature of a sensory board can be incredibly soothing and regulating.
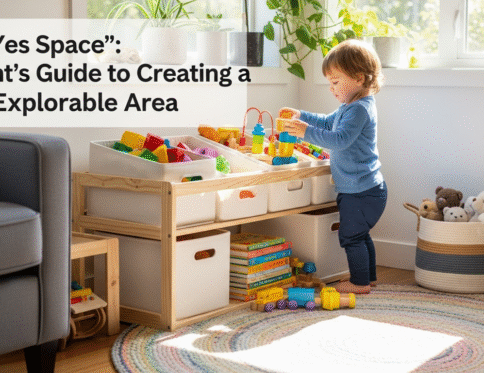
Planning Your Perfect DIY Sensory Wall: A People-First Approach
The best DIY sensory wall is one designed with your specific child in mind. This planning phase is crucial for success.
1. Observe Your Child’s Interests: What is your child naturally drawn to? Do they love things that click, things that are soft, or things that spin? Jot down a list of their favorite actions and textures. My own toddler was obsessed with light switches and locks, so those were the first items on my list. This “persona-first” approach ensures the wall will be an instant hit.
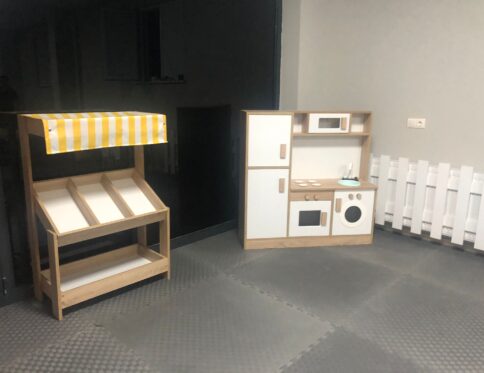
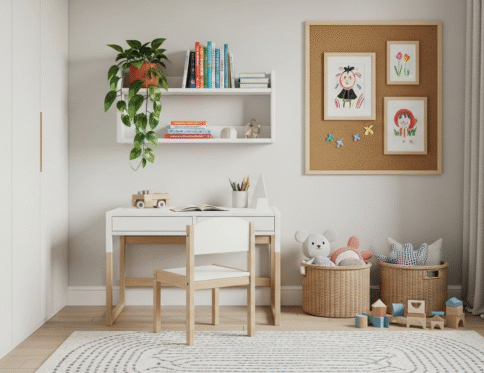
2. Choose a Safe and Accessible Location: Select a wall in a common area where you can supervise play, but not in a high-traffic hallway where it could be bumped into. The wall should be at a height your child can comfortably reach while sitting and standing.
3. Gather Your Materials (The Fun Part!): This is where you can get creative! The goal is to collect a variety of safe, engaging items. Think beyond just store-bought toys. A trip to the hardware store can be more inspiring than a toy store.
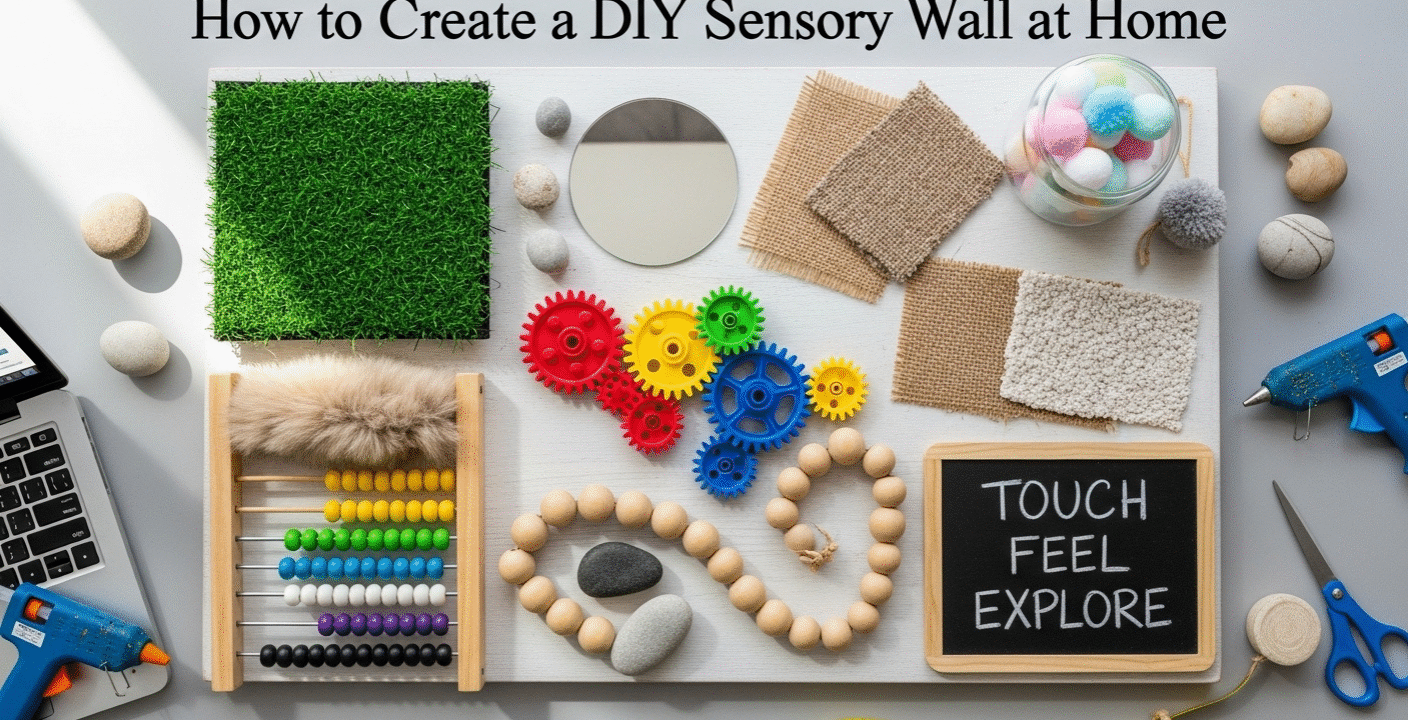
Engaging and Safe Sensory Wall Ideas
Here are some tried-and-true sensory wall ideas to get you started, categorized by the sense they engage:
- For Touch:
- Patches of different fabrics (faux fur, corduroy, silk, velvet)
- Squares of sandpaper in different grits
- A sample of turf or textured carpet
- Smooth, painted wooden shapes
- For Sound:
- A set of old-fashioned doorbells that ring at different pitches
- A bicycle bell or a small xylophone
- A wooden stick to run along a piece of ridged molding
- For Fine Motor and “Cause and Effect”:
- A string of large, colorful beads on a horizontal rod
- A light switch (not connected to anything!)
- A deadbolt lock or a simple barrel slide bolt
- A spinning wheel or a large fidget spinner securely attached
- A set of wheels from an old toy car
Building Your Homemade Sensory Wall: A Step-by-Step Guide
Once you have your plan and materials, it’s time to build.
Step 1: Prepare Your Base You can attach items directly to the wall, but I highly recommend using a baseboard. A large piece of plywood or a sturdy pegboard from a hardware store works perfectly. This protects your wall and allows you to move the sensory wall later if needed. Sand the board thoroughly to ensure there are no splinters.
Step 2: Arrange and Layout Your Items Before you secure anything, lay the board on the floor and arrange all your items. Think about spacing. Leave enough room around each element for little hands to explore without getting frustrated. This is a good time to get a second opinion from the “end-user”—see what items your child gravitates toward!
Step 3: Secure Everything Firmly This is the most critical step for safety. Use strong, non-toxic wood glue and reinforced with screws from the back of the board whenever possible. Pull and tug on every single item to ensure it is completely secure. There should be absolutely no loose parts that could become a choking hazard.
A Quick Safety Checklist:
- [ ] Are all items securely fastened with no wiggle?
- [ ] Are there any small parts that could break off?
- [ ] Are all edges sanded smooth?
- [ ] Is the board itself securely mounted to the wall studs?
Step 4: Mount the Wall Mount your completed DIY sensory wall securely to the wall. Be sure to screw it directly into the wall studs for maximum stability.
By following these steps, you’re creating more than a toy; you’re creating a dedicated space for developmental sensory play that is both fun and foundational.
Disclaimer: This blog post is for informational purposes only and is based on personal experience. The creator of this content is not a professional in child development or safety. All projects should be completed with adult supervision. You are responsible for ensuring all items used are age-appropriate and securely attached to prevent any potential hazards, including choking. Always supervise your child while they are using the sensory wall.